Battle of Beersheba (1917) facts for kids
Quick facts for kids Battle of Beersheba |
|||||||
|---|---|---|---|---|---|---|---|
| Part of the Middle Eastern theatre of World War I | |||||||
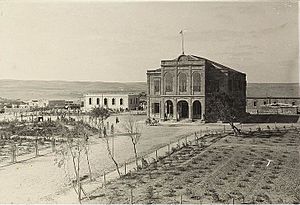
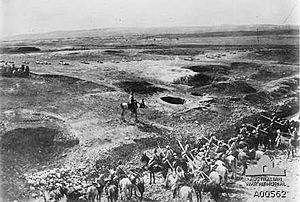
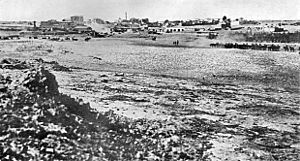 Beersheba in 1917 |
|||||||
|
|||||||
| Belligerents | |||||||
| Commanders and leaders | |||||||
| Units involved | |||||||
|
Egyptian Expeditionary Force
Desert Mounted Corps
|
Yildirim Army Group
|
||||||
| Strength | |||||||
| 47,500 rifles, 15,000 troopers | 4,400 rifles, 60 machine guns, 28 field guns | ||||||
| Casualties and losses | |||||||
| 171 killed in action | ~ 1,000 killed or wounded 1,947 prisoners |
||||||
The Battle of Beersheba was a key event during World War I on 31 October 1917. It happened when the British Empire's Egyptian Expeditionary Force (EEF) attacked and captured the town of Beersheba from the Ottoman Empire. This battle marked the start of a new attack in the Sinai and Palestine campaign.
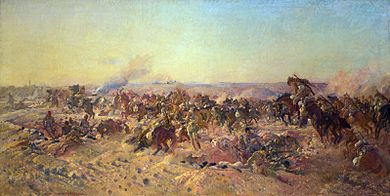
British infantry divisions attacked from the southwest in the morning. Later that day, the Anzac Mounted Division attacked strong defenses on the eastern side of Beersheba. They managed to capture these areas in the late afternoon. Soon after, the Australian Mounted Division's 4th and 12th Light Horse Regiments made a famous mounted charge. They used bayonets as their main weapon. Some soldiers dismounted to attack trenches, while others rode directly into the town. They captured Beersheba and many of the defending soldiers.
Contents
Setting the Stage for Battle
After two defeats at Gaza in early 1917, the British EEF and the Ottoman forces faced a stalemate. Both sides built strong defenses. The Ottoman line stretched from Gaza to Beersheba. Beersheba was a key town. It was defended by trenches, earthworks, and hills.
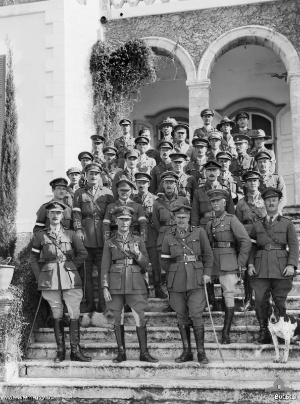
In June 1917, General Edmund Allenby took command of the EEF. He reorganized the army and planned a new attack. His goal was to break the Ottoman line and advance towards Jerusalem. Beersheba was chosen as the first target. Capturing its water wells was very important for the mounted troops.
Beersheba's Location and Importance
Beersheba was an ancient trading center. Roads spread out from it in all directions. It was also on a railway line. The town had important buildings like a hospital, army barracks, and a railway station. These stone buildings were well-built.
The town was surrounded by rocky hills. These natural features made it easy to defend. The Ottoman forces had strengthened these areas with trenches and forts.
Ottoman Defenses
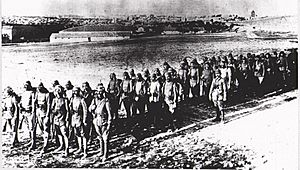
The Ottoman forces defending Beersheba were part of the III Corps. They had about 4,400 soldiers, 60 machine guns, and 28 field guns. The main defense on the eastern side was the Tel el Saba redoubt. It was manned by a battalion of soldiers.
The western and southwestern parts of Beersheba were protected by a semicircle of deep trenches. These were strengthened with barbed wire. Many of the defenders were local farmers. They were fighting to protect their homes.
British Preparations
General Allenby brought in more troops and supplies for the EEF. By October 30, the EEF had about 47,500 infantry soldiers and 15,000 mounted troopers. Many of these soldiers had fought in other campaigns, like Gallipoli.
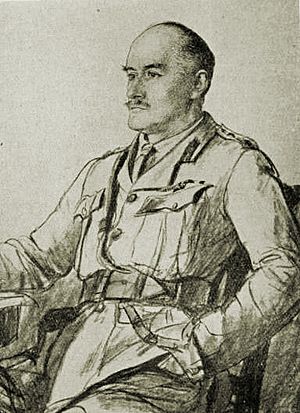
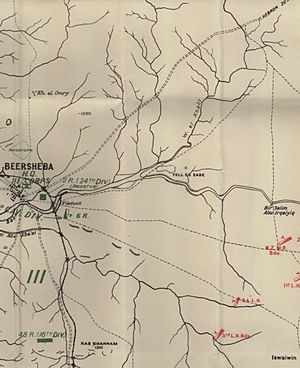
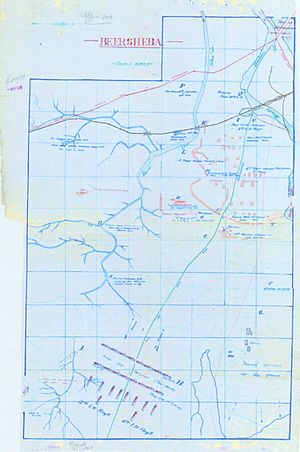
The plan was for the XX Corps to attack Beersheba from the south and southwest. The Desert Mounted Corps would attack from the east. Success depended on a strong attack. If they failed, the dry desert would make it hard to retreat.
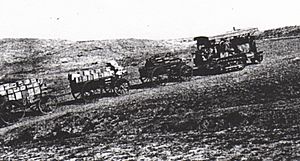
The British also worked to improve their supply lines. They built roads and railway lines. This was crucial for moving troops, ammunition, and water. Horses needed a lot of water, especially in the desert.
The Battle Begins
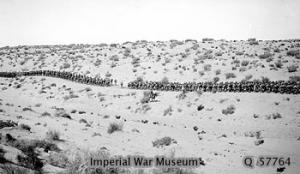
On October 30, the British forces began their final march towards Beersheba. The infantry divisions moved into position during the night. The mounted divisions rode between 25 and 35 miles to get into position for a dawn attack.
Opening Attacks
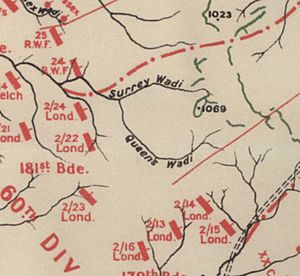
The British artillery bombardment began at 5:55 AM. It targeted Ottoman defenses and cut wire. At 8:20 AM, the 60th (London) Division launched a preliminary attack. They quickly captured Hill 1070, an important part of the outer defenses. This allowed the heavier British guns to move forward.
The main infantry assault began at 12:15 PM. Four brigades attacked the Ottoman trenches. There was intense hand-to-hand fighting. By 1:30 PM, the Ottoman trench line on the western side of Beersheba was captured. The XX Corps took 419 prisoners and six guns.
Desert Mounted Corps Attacks
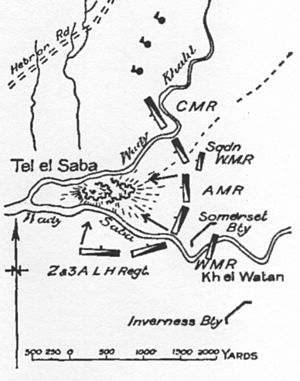
While the infantry fought in the west, the Anzac Mounted Division attacked from the east. Their first goal was to cut the road from Beersheba to Jerusalem. This would stop Ottoman reinforcements or retreats. Their second goal was to capture Tel el Saba, a strong redoubt that overlooked Beersheba.
The 2nd Light Horse Brigade attacked Tel el Sakaty to cut the Jerusalem road. They faced heavy fire but managed to cut the road and capture a convoy. Meanwhile, the New Zealand Mounted Rifles Brigade attacked Tel el Saba. This was a very difficult fight. The hill was steep and covered in boulders. It was defended by many machine guns.
The New Zealanders launched a dismounted attack. They used the cover of the Wadi Saba (a dry riverbed). The 1st Light Horse Brigade reinforced the attack. Artillery and machine guns provided covering fire. After hours of fighting, the Auckland Mounted Rifles Regiment launched a final assault. They captured Tel el Saba at 3:00 PM. They took 132 prisoners and four machine guns.
The Famous Light Horse Charge
With Tel el Saba captured, the Anzac Mounted Division ordered an attack on Beersheba itself. General Allenby also sent an urgent order to capture the town before nightfall. The 4th Light Horse Brigade was preparing for a mounted attack. Aerial scouting showed that the trenches in their path did not have barbed wire.
At 4:00 PM, the 4th and 12th Light Horse Regiments were ordered to charge. They were about 4 miles from Beersheba. These soldiers were armed with bayonets, not swords. The bayonets were held in their hands, as if they were small swords.
The two regiments began their charge at a trot, then a gallop. They faced heavy machine-gun fire. The 4th Light Horse Regiment charged directly over the Ottoman trenches. These trenches were 10 feet deep and 4 feet wide. The leading soldiers jumped over them. They then dismounted behind the trenches and attacked the Ottoman defenders. Many Ottoman soldiers were killed or surrendered.
The 12th Light Horse Regiment, on the left, found a gap in the defenses. They rode through it and into Beersheba. They quickly captured the town. They found a large Ottoman column trying to escape and forced them to surrender. The 12th Light Horse Regiment captured 37 officers, 63 other soldiers, four guns, and transport.
The 4th and 12th Light Horse Regiments together captured 1,148 prisoners, 10 field guns, and many other supplies. The total number of prisoners captured by the Desert Mounted Corps that day was 1,528.
Aftermath and Legacy
The Battle of Beersheba was a major victory for the British. It allowed them to break the Ottoman defensive line. However, some Ottoman forces managed to escape into the Judean Hills. They continued to fight stubbornly.
The fighting continued for several days. The British captured Gaza on November 7. By November 8, all the Ottoman positions along the Gaza-to-Beersheba line were captured. The Ottoman forces were in full retreat. Six weeks later, the EEF captured Jerusalem.
Australian Identity
The Battle of Beersheba is very important in Australian history. Some historians believe it was "Australia's first big achievement on the world stage." It is seen as a major Australian victory, unlike the defeat at Gallipoli.
In Israel
- In 2008, a monument to the Light Horse was unveiled in Beersheba, Israel. It was made by Australian sculptor Peter Corlett.
- In 2017, the Beersheba ANZAC Memorial Center was opened. The building looks like a horse's head. It honors the tens of thousands of horses that served in the war.
- In 2019, a sculpture called 'The Aborigine and His Horse' was dedicated. It honors Aboriginal ANZAC members who fought in the battle.
See also
- Horses in World War I
- Waler
- Forty Thousand Horsemen and The Lighthorsemen are movies based on these events.


